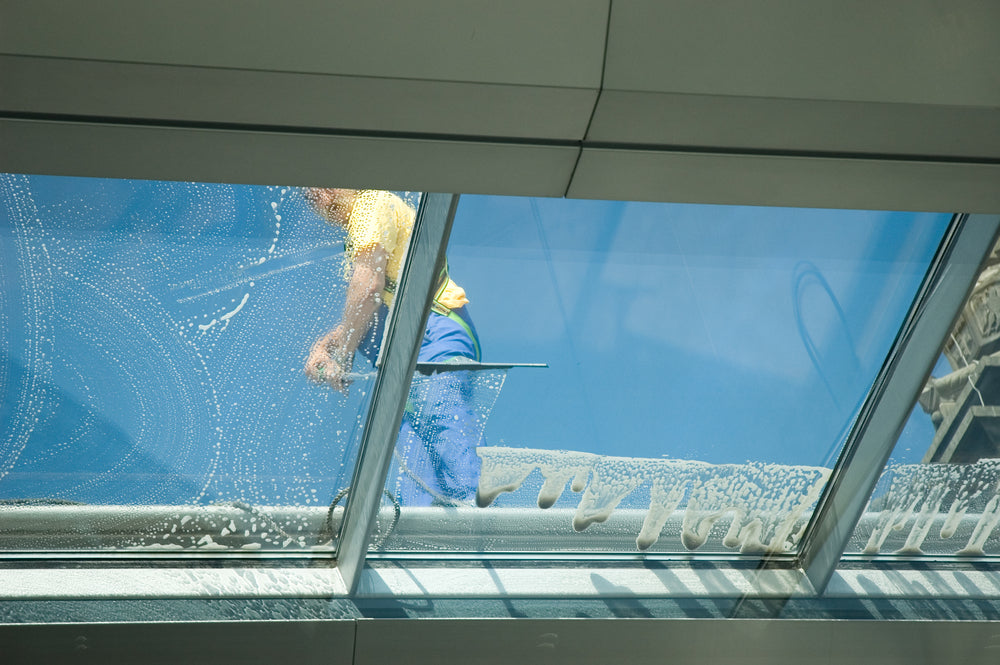
Rooflights play a vital role in brightening up our living spaces and creating a connection to the outdoors. To maintain their pristine appearance and ensure optimal light transmission, regular cleaning is essential. If you're wondering how to effectively clean your rooflights, we've got you covered with this comprehensive step-by-step guide.
Step 1: Safety First
Safety should always be your top priority when cleaning rooflights. Before starting, assess the accessibility of the roof area. Ensure that your ladders are stable and securely positioned. If you're cleaning rooflights at a height, consider using a safety harness or having a spotter present for assistance, especially when working on sloped or elevated surfaces.
Step 2: Gather the Right Tools
To accomplish a thorough cleaning, assemble the necessary tools and materials. In addition to the basic cleaning supplies mentioned earlier, you may also want to have a gentle glass cleaner for any persistent marks or smudges. Microfiber cloths are excellent for streak-free drying, and a small brush can help reach into crevices or corners for a more detailed clean.
Step 3: Remove Debris and Dust
Before applying any cleaning solutions, it's crucial to clear away any loose debris and dust that may have accumulated on the rooflights. A soft-bristled brush or a handheld vacuum cleaner with a brush attachment can be useful for this task. Removing larger debris beforehand prevents it from being smeared during the cleaning process.
Step 4: Prepare the Cleaning Solution
When mixing your cleaning solution, opt for a mild soap or detergent that is gentle on the rooflight material. Harsh chemicals can damage the surface, so it's best to avoid them. If you're uncertain about the compatibility of a cleaner with your rooflights, test it on a small, inconspicuous area first to ensure it doesn't cause any adverse reactions.
Step 5: Clean the Rooflights
As you scrub the rooflights with the cleaning solution, pay attention to any areas of grime or stuck-on dirt. For stubborn stains, you might need to use a bit more elbow grease or let the soapy solution sit for a few extra minutes. Work systematically, ensuring that all surfaces, edges, and corners receive equal attention.
Step 6: Rinse and Squeegee
Rinsing the rooflights with clean water is essential to remove any lingering soap residue and prevent streaking. Using a squeegee, start at the top and work your way down in long, smooth strokes. This technique ensures that excess water is efficiently removed, leaving behind a clean and streak-free surface.
Step 7: Dry and Polish
After the final rinse, use a dry, lint-free cloth to polish the rooflights. By removing any remaining moisture, you can prevent water spots from forming and achieve a crystal-clear finish. Take your time to inspect the glass for any missed spots or streaks, and touch up as needed to achieve a flawless result.
Step 8: Regular Maintenance
To keep your rooflights looking their best, establish a consistent cleaning schedule based on your specific environmental conditions. In regions with heavy pollution or frequent inclement weather, more frequent cleanings may be necessary. By incorporating regular maintenance into your routine, you can prolong the lifespan of your rooflights and preserve their visual appeal for years to come.
With these detailed steps and a commitment to regular cleaning, you can ensure that your rooflights remain a source of natural light and aesthetic splendor, enhancing the ambiance of your home or workspace. Enjoy the benefits of clean, clear rooflights that illuminate your surroundings and provide a seamless connection with the outside world.

